Ansible Part 2: Azure Inventory
Series Table of contents:
- Part 1: Install Ansible
- Part 2: Azure Inventory
Ansible is a agentless system. So we have to write inventoryscripts targeting our environment. In my case It Is Azure. We use Ansible 2.8.1 so Red Hat changed the inventory mechanism. They now use a inventory plugins for Azure Resource Manger.
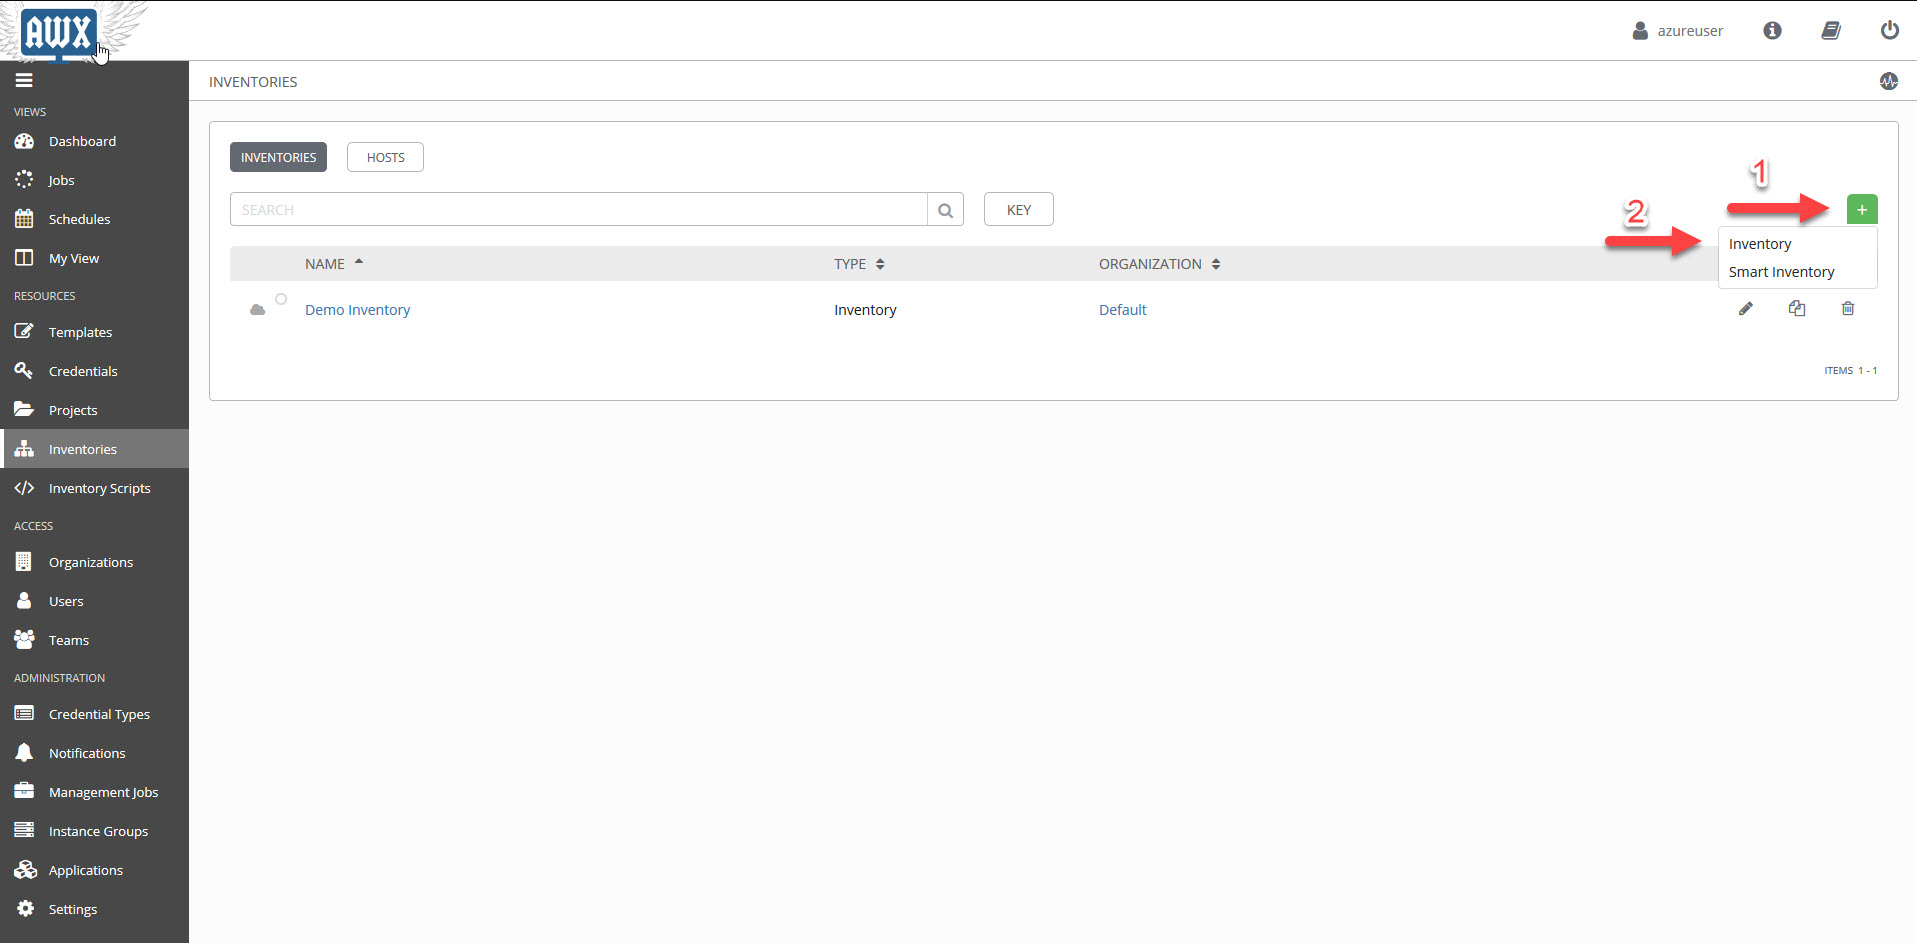
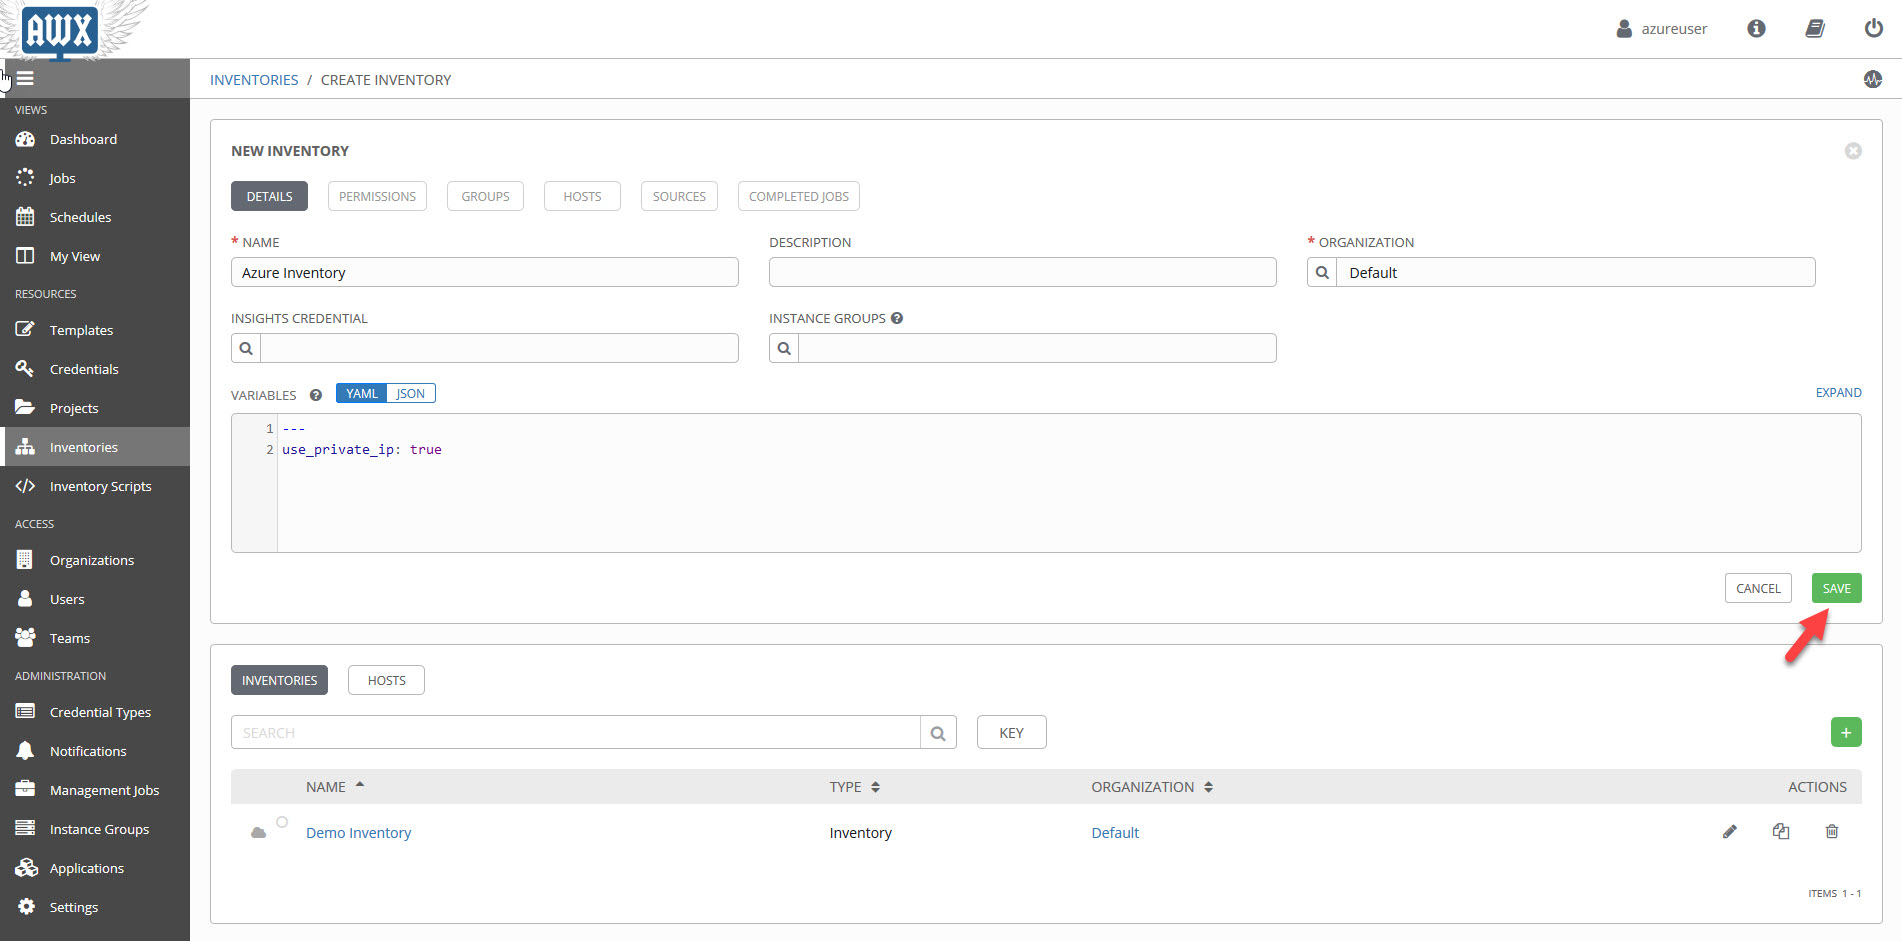
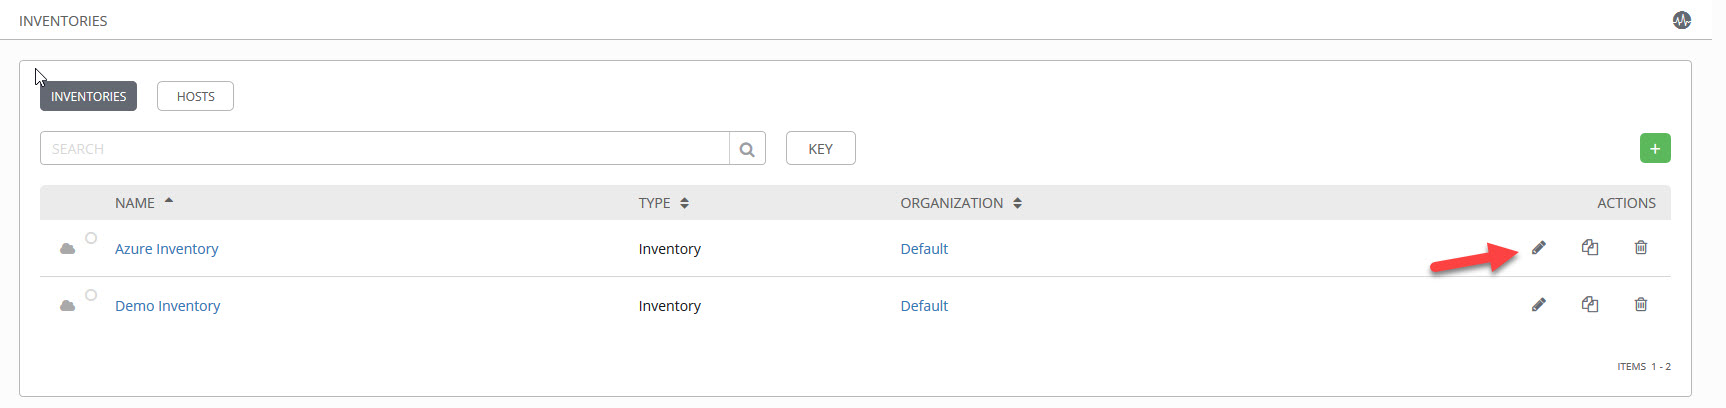
Now we need to define an Inventory. Change to “Inventories” and create a new one. Click on the Plus Sign and select Inventory.
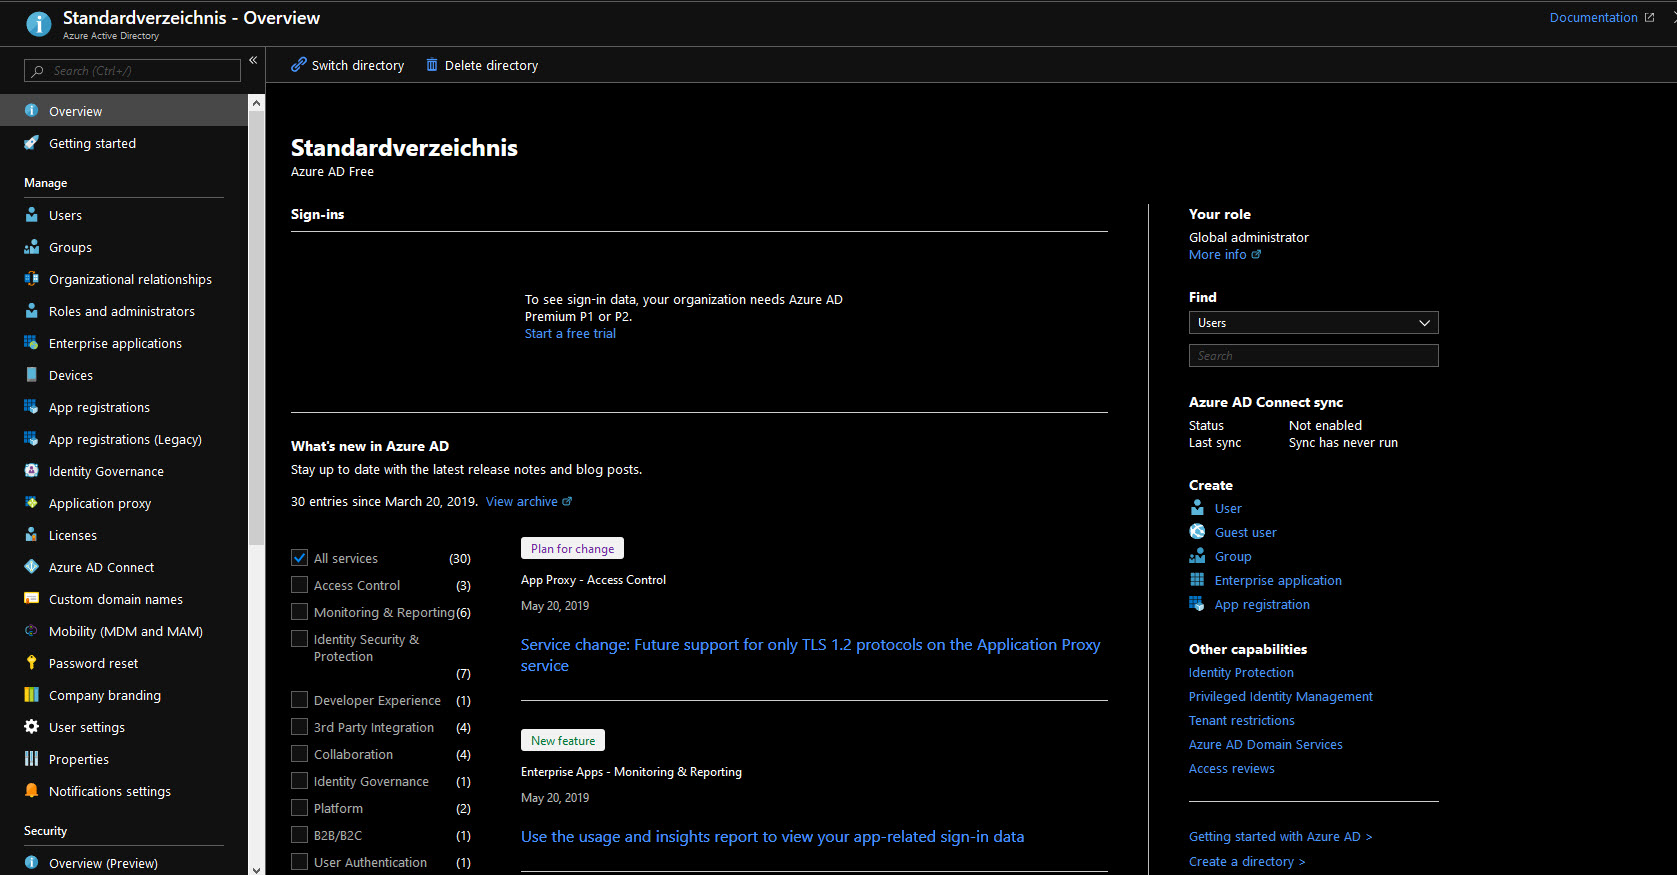
To get the inventory up and running we need a Azure credential. This is a Service Principal Name that we have to register in Azure Active Directory. To do that you have to authenticate to your Microsoft Azure Subscription and go to Azure Active Directory.
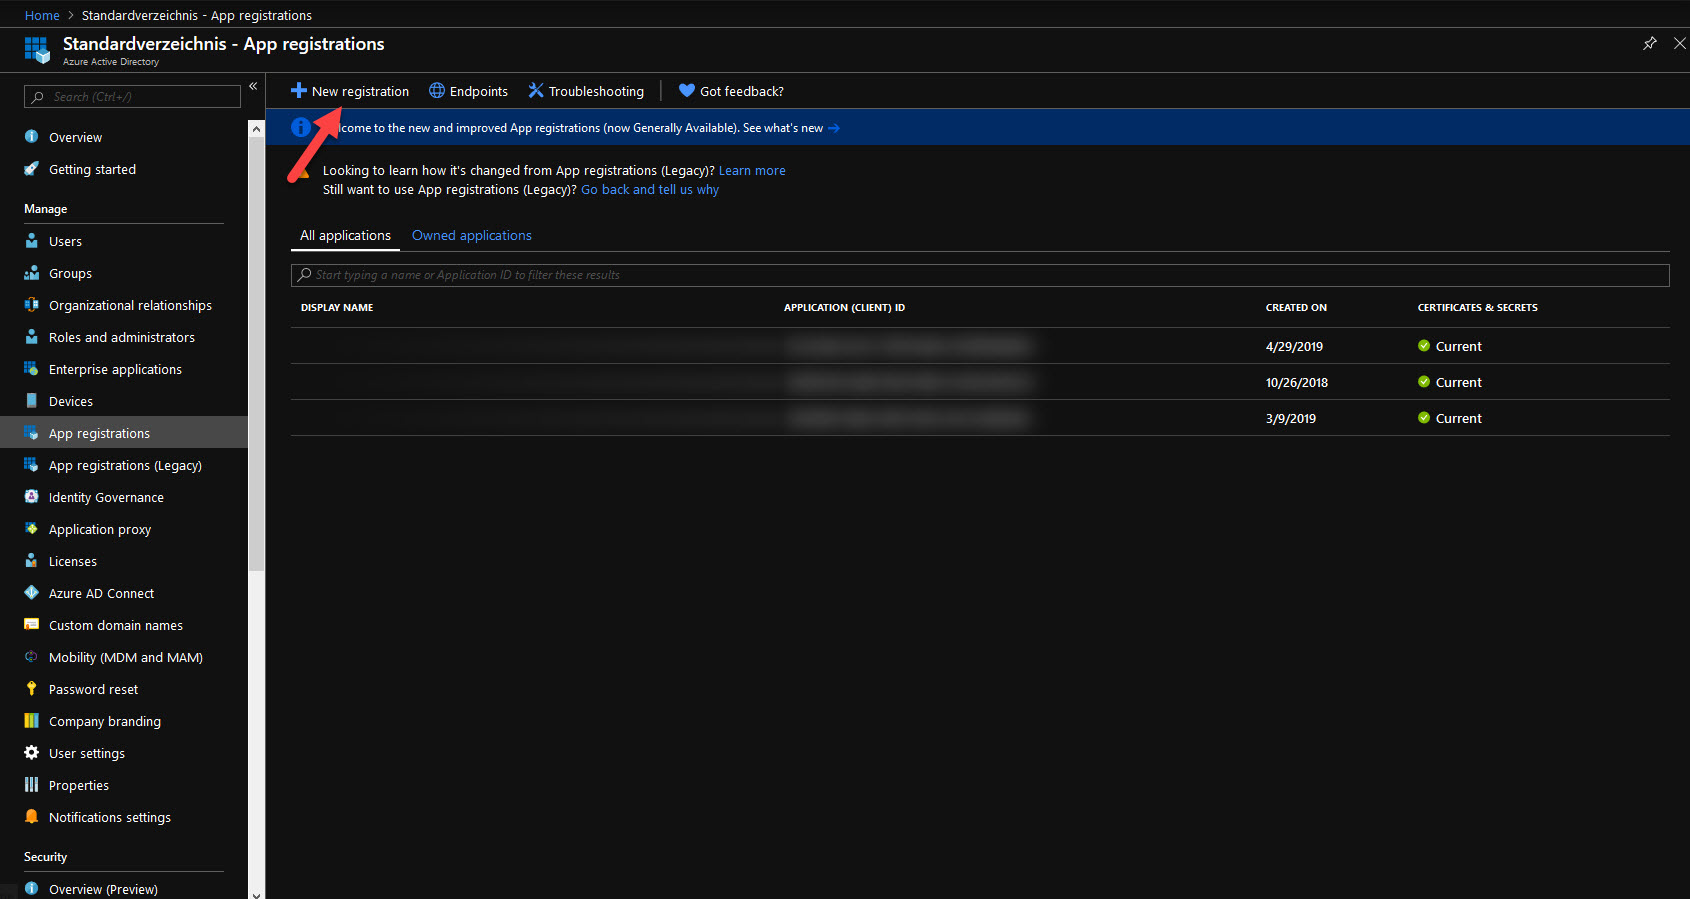
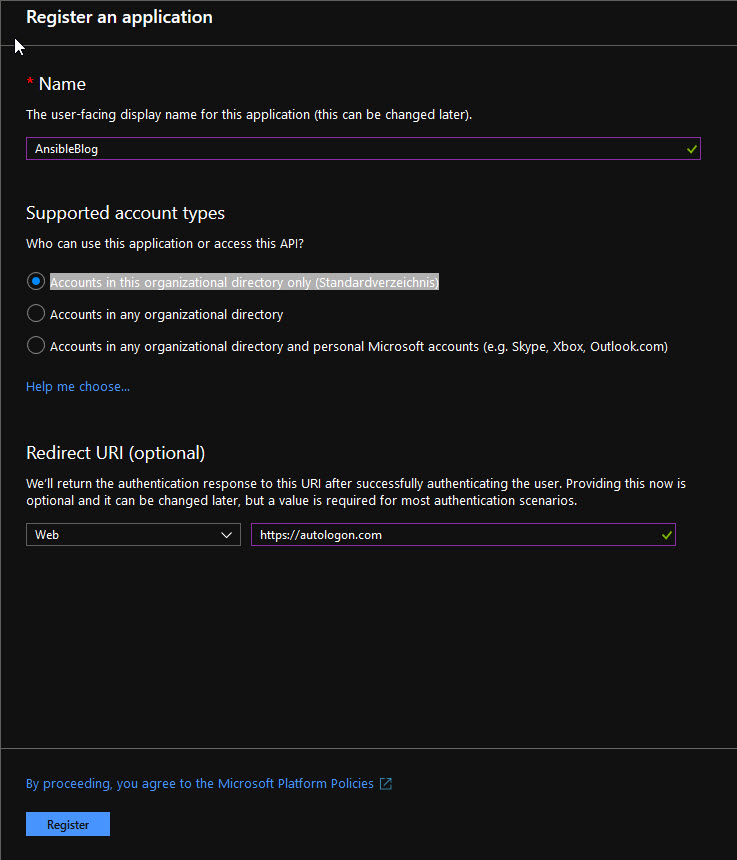
Go to App registration and create a “New registration”
Give the Azure AD application a name and select the following settings:
Name: AnsibleBlog Supported account types: Accounts in this organizational directory only (Standardverzeichnis) Redirect URI (optional): Web, https://autologon.com (give It any url that you want)
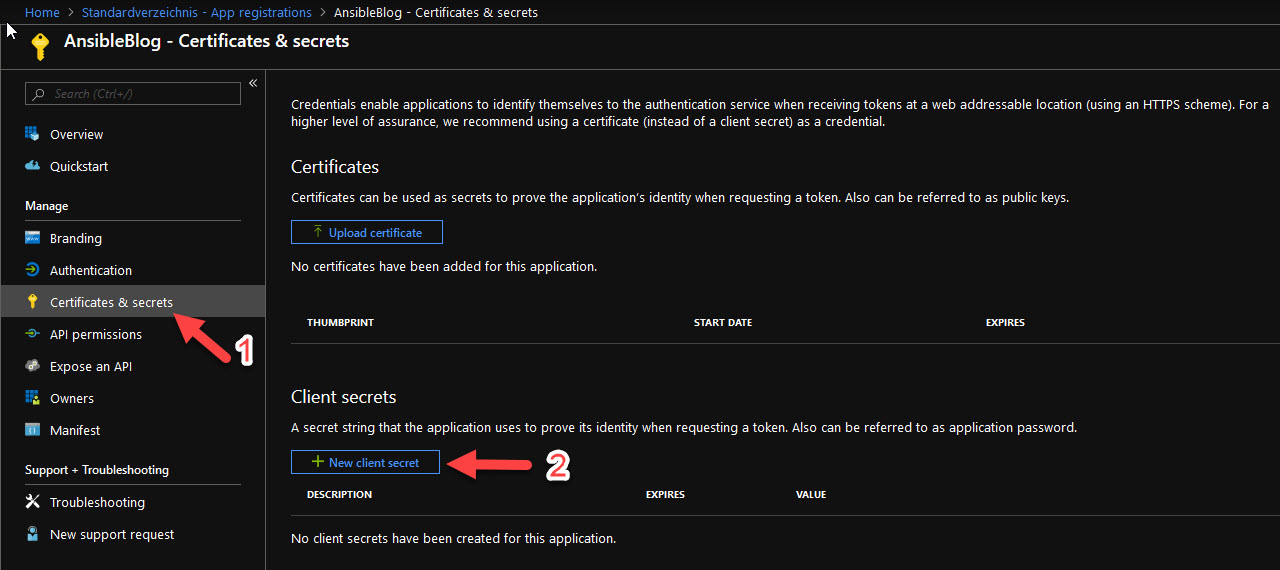
After that you select “Certificates & secrets” and create a new client secret.
Give It a description and for demo purposes set It to 1 year.
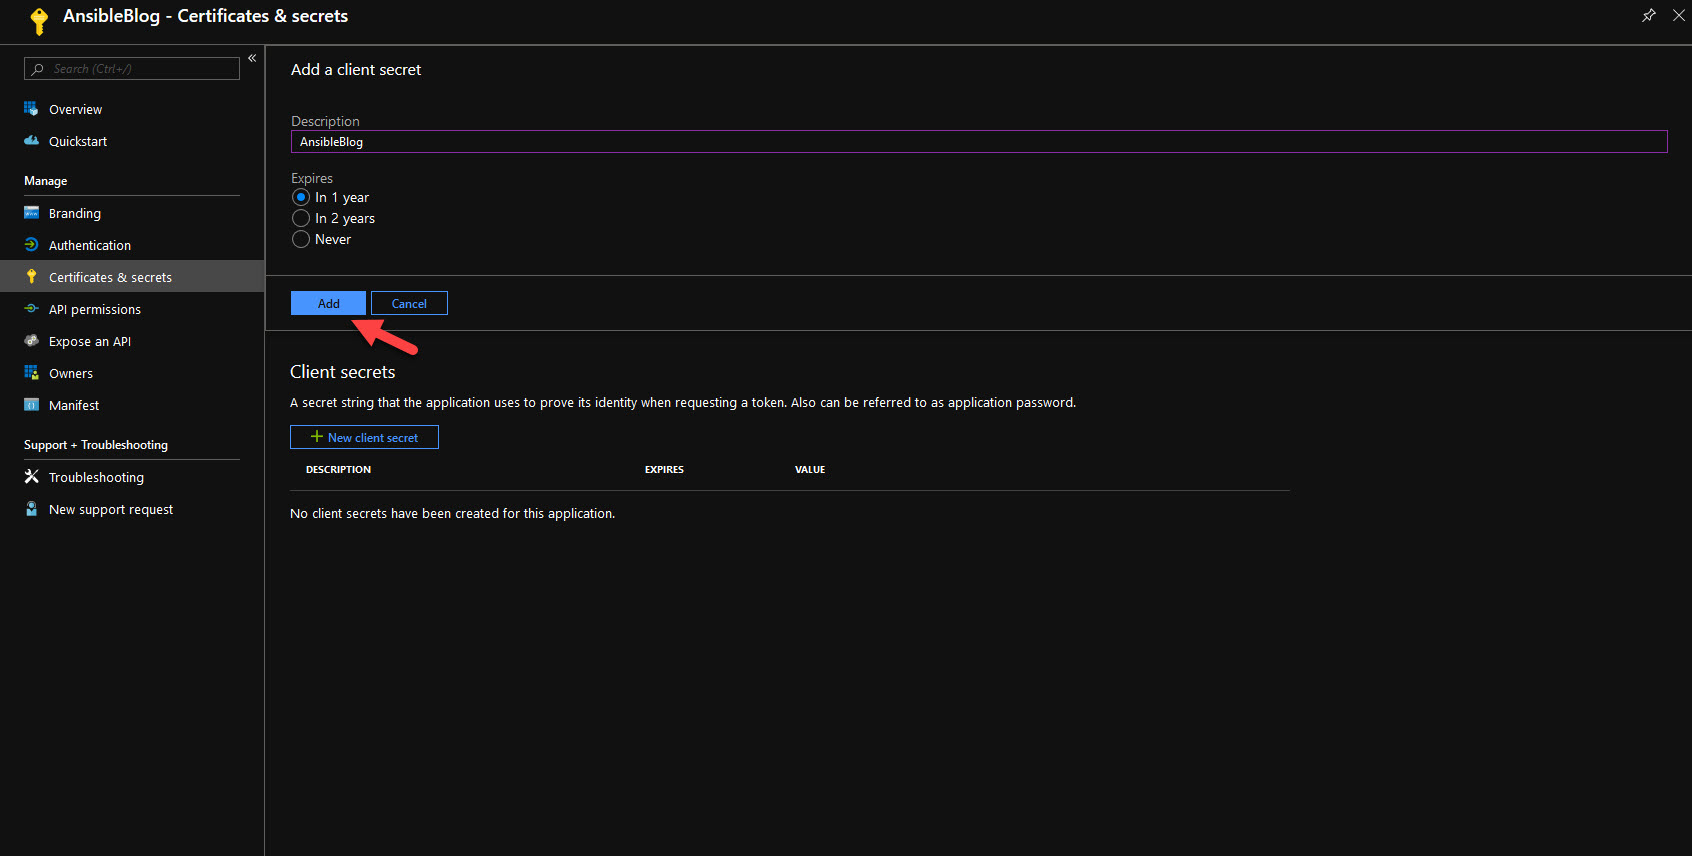
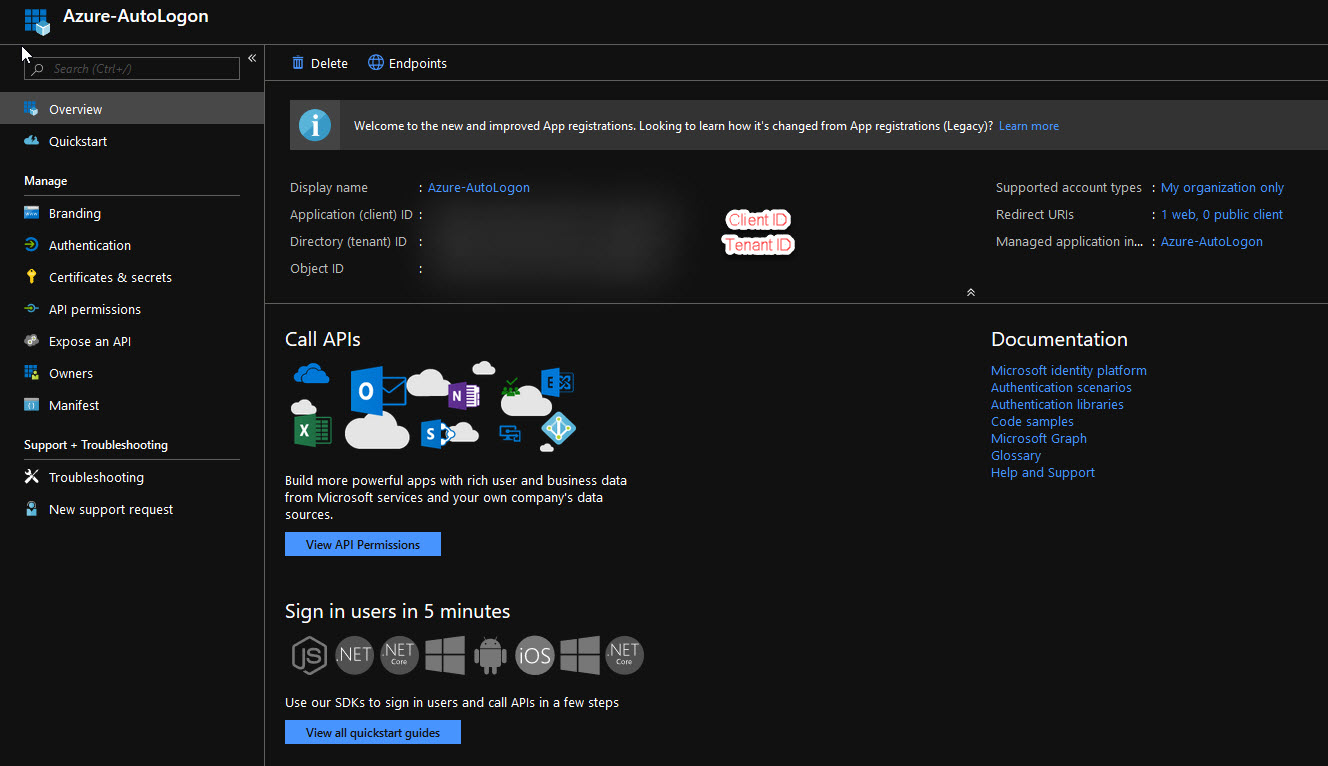
make a note of the value. This is the password that we will need for the Ansible credential later. You should also take note of the following values. You find them in the Overview of the Azure AD application:
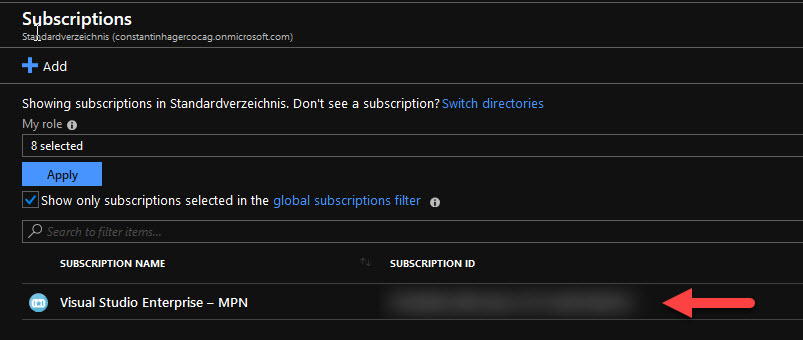
Subscription ID:
Go to “Subscriptions”. Here you see your subscription id
Client ID: see picture below Tennant ID: see picture below UserName: your Azure Login Password: the password to the Azure Login
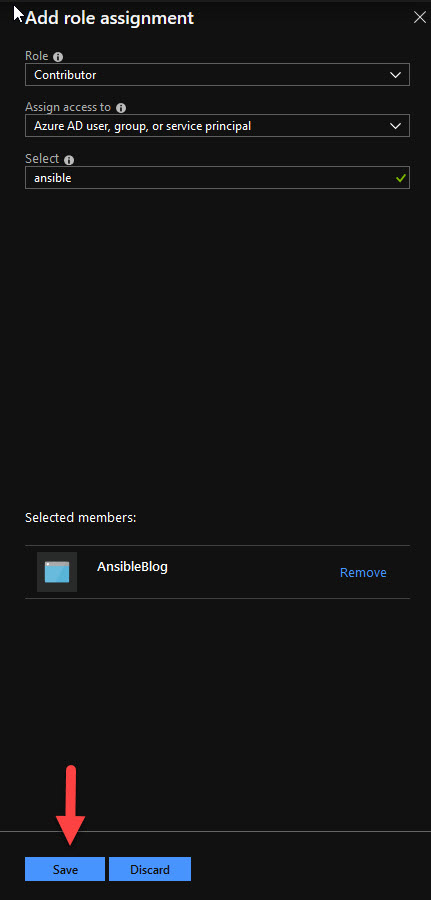
The last step we have to do on the azure side is assign this service principal contributor rights to our subscripton. We do that by going to “Subscriptions”. Click on your subscription and select “Access control (IAM)”.
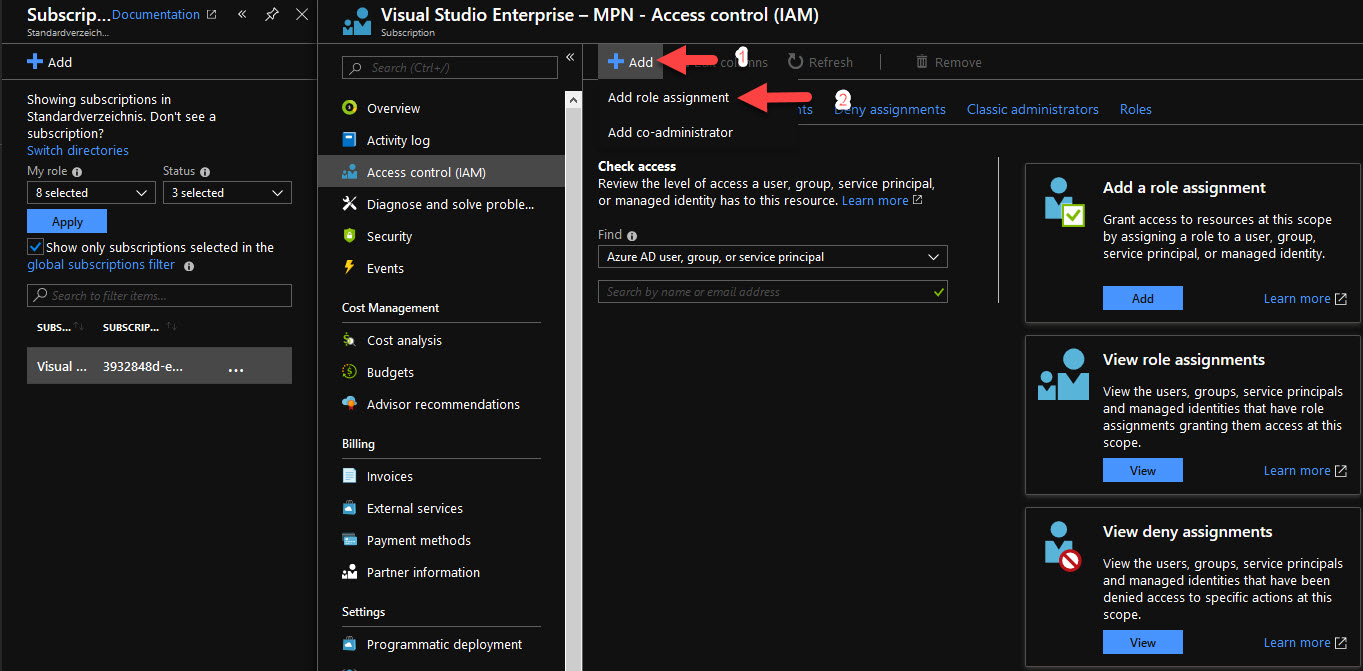
Assign the application that you created earlier the following rights
Now we have all the information we need we are now able to create the Ansible Credential. Go to “Credentials” in AWX and create a new one.
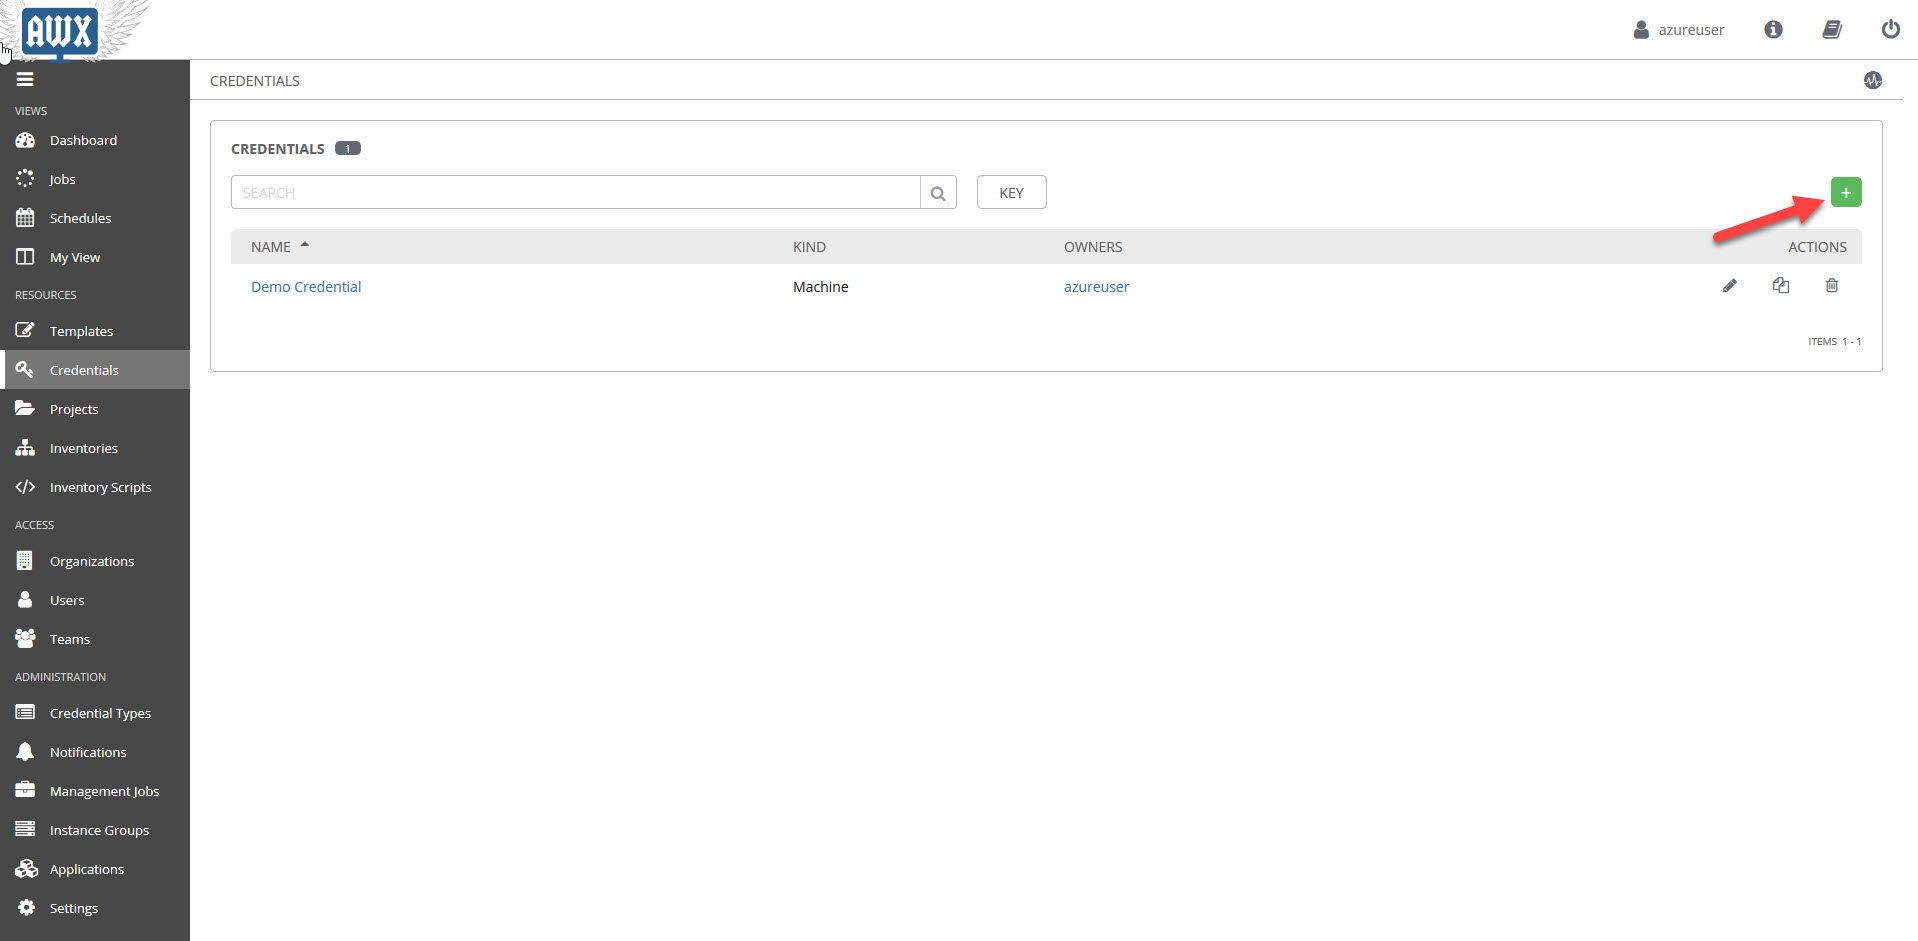
Give the credential a name and select the credential type to be “Microsoft Azure Resource Manager”. After that we are able to see new fields provide them with the values that we collected before and click save. Client Secret is the value that you noted down earlier.
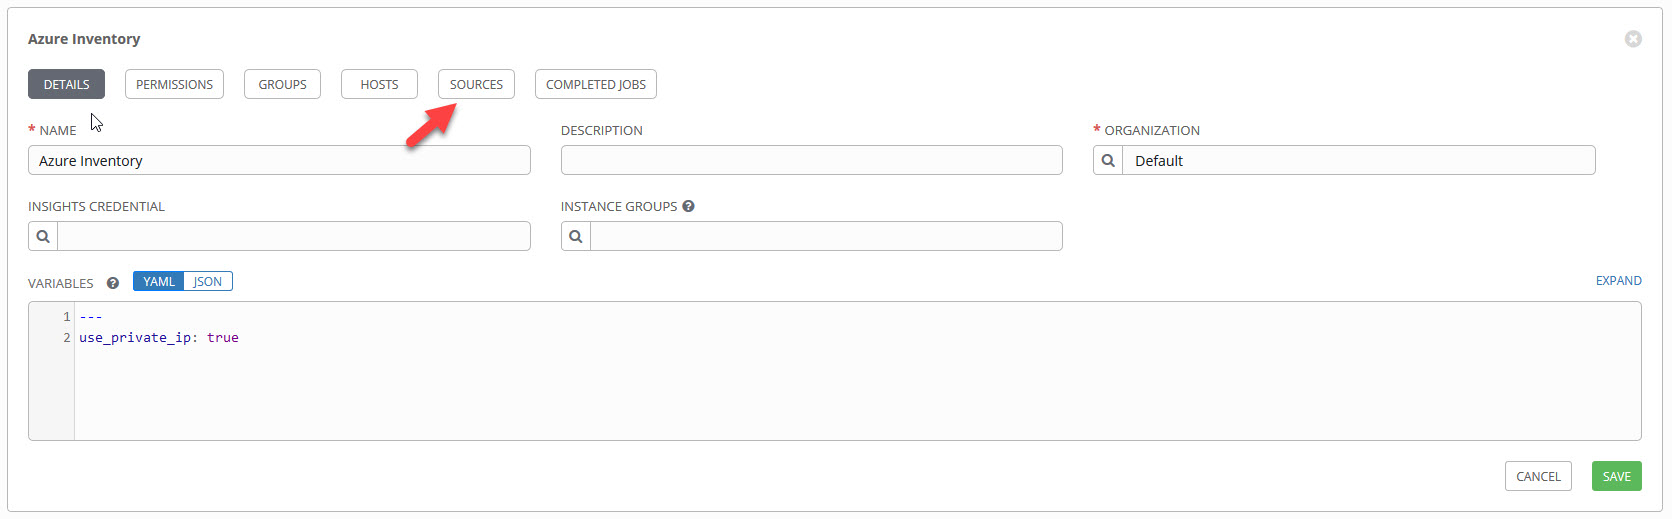
Now we have to assign the credential to the Inventory that we created before. Go to that inventory.
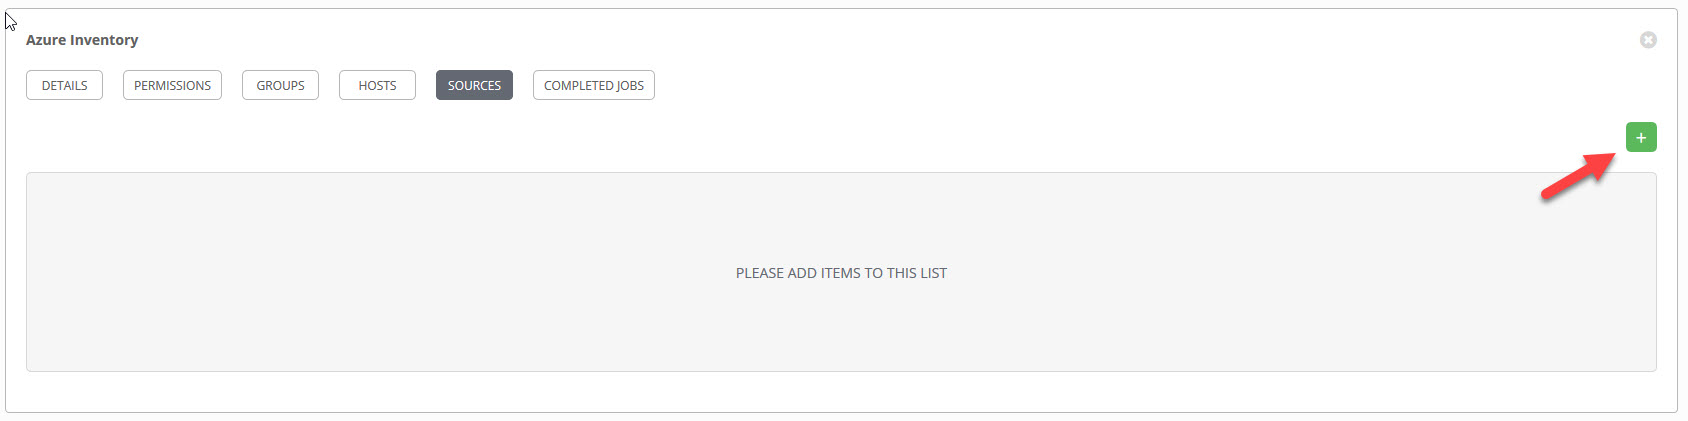
Select sources from the buttons above.
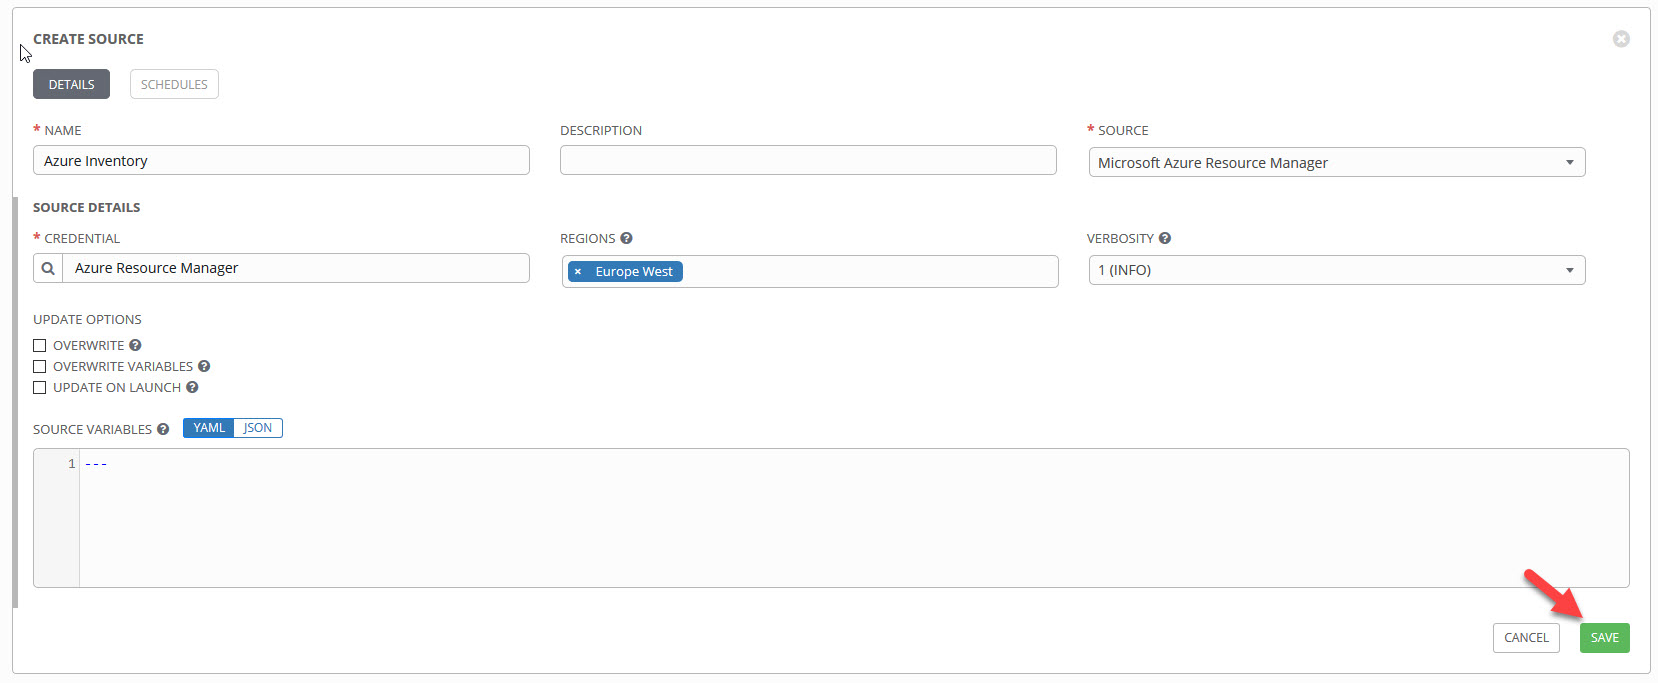
Give the source a name and the source is “Microsoft Azure Resource Manager”. The Credential is automatically filled out. If you want you can select a region to the source. Click Save
If you want to start an Inventory click on “Inventories” chose your inventory and click the button sources and click on Sync All.
To watch the progress of your inventory go to the jobs view and klick on the job that is running to see the details.
That’s It for part 2. Watch out for part 3.