Ansible Part 1: Install Ansible
Series Table of contents:
- Part 1: Install Ansible
- Part 2: Azure Inventory
In this series you will see how to use Ansible with Azure.
In this first part we will provision a Azure Linux VM and install Ansible on It. We will then install the free version of Ansible Tower wich is AWX.
But what is Ansible. Ansible is developed by RedHat and is open-source. With this tool you can configure, provision systems and applications on-premise or in any Cloud. Continous Deployment pipelines like Azure DevOps also have extensions to run Ansible provision scripts (Ansible Playbooks).
But Let’s jump right in how to install Ansible on an Azure VM with AWX.
Provision a Linux Azure VM
we do that with the Az CLI in Azure CloudShell. Just Login to your Azure Subscription and open Azure CloudShell.
 First you create a Azure Resource Group
1
az group create --name AnsibleBlog --location westeurope
I already have an existing Azure Virtual network in my subscription that I want to use for my Linux VM. If I provide the parameters for the existing VNet the Az CLI will create a new VNet. So If we want to join the new Linux VM to an existing VNet we have to collect some information first and store them in a variable. Then we can assign the variable to the parameter –vnet-name. To do that the following command is needed:
1
2
3
4
5
6
export SUBNETID=$(az network vnet subnet show \
--resource-group Workshop \
--name default \
--vnet-name Workshop-vnet \
--query id \
-o tsv)
Then create the Linux Azure VM
1
2
3
4
5
6
7
8
9
az vm create \
--resource-group AnsibleBlog \
--name AnsibleVM \
--image OpenLogic:CentOS:7.5:latest \
--admin-username azureuser \
--generate-ssh-keys \
--size Standard_D2s_v3 \
--subnet $SUBNETID \
--boot-diagnostics-storage workshopdiag269
wait for the deployment to finish.
To get the public IP from the vm via Az CLI use this command:
1
az vm show -d -g AnsibleBlog -n AnsibleVM --query publicIps -o tsv
use this public ip to connect to the Linux VM via SSH with this command:
1
ssh azureuser@your public ip address
and accept the fingerprint.
Now we are finished with provisioning of the Azure VM. Let’s install Ansible and AWX.
For the rest of the test environment I’m working as root (sudo su -). use this script to get all needed packages:
first you need to disable selinux. You do that with the following command:
1
sed -i 's|SELINUX=enforcing|SELINUX=disabled|g' /etc/selinux/config
restart you linux machine.
1
2
3
yum -y install epel-release
yum -y update
yum -y install git gcc gcc-c++ lvm2 bzip2 gettext nodejs yum-utils device-mapper-persistent-data ansible python-pip
After that you install and enable docker:
1
2
3
4
5
6
7
yum -y remove docker docker-client docker-client-latest docker-common docker-latest docker-latest-logrotate docker-logrotate docker-selinux docker-engine-selinux docker-engine
yum-config-manager --add-repo https://download.docker.com/linux/centos/docker-ce.repo
yum -y install docker-ce
systemctl start docker
systemctl enable docker
pip install docker
pip install docker-compose
To download AWX use this script:
1
git clone --depth 50 https://github.com/ansible/awx.git
change directory to awx/installer and edit the inventory file with your favorite editor and change the following values to this values:
1
2
3
4
5
6
postgres_data_dir=/var/lib/pgdocker
docker_compose_dir=/var/lib/awxcompose
admin_user=your username
admin_password=your password
awx_official=true
project_data_dir=/var/lib/awx/projects
save the changes you made.
We have to create a secret. We can get that done with the following script:
1
openssl rand -base64 30
copy and paste the outcome to the following line in the inventory file:
1
sed -i 's|secret_key=awxsecret|secret_key=your key|g' inventory
the last action is to install awx with the following script:
1
ansible-playbook -i inventory install.yml
Before we can use the awx interface we have to expose port 80 to the internet. We have to open port 80 in the Network security group of the Azure VM. To do that exit out of the ssh session and then use the following code:
1
2
3
4
5
6
7
8
9
10
az network nsg rule create --name http \
--nsg-name AnsibleVMNSG \
--priority 100 \
--resource-group AnsibleBlog \
--access Allow \
--source-address-prefixes '*' \
--source-port-ranges '*' \
--destination-address-prefixes '*' \
--destination-port-ranges 80 \
--protocol tcp
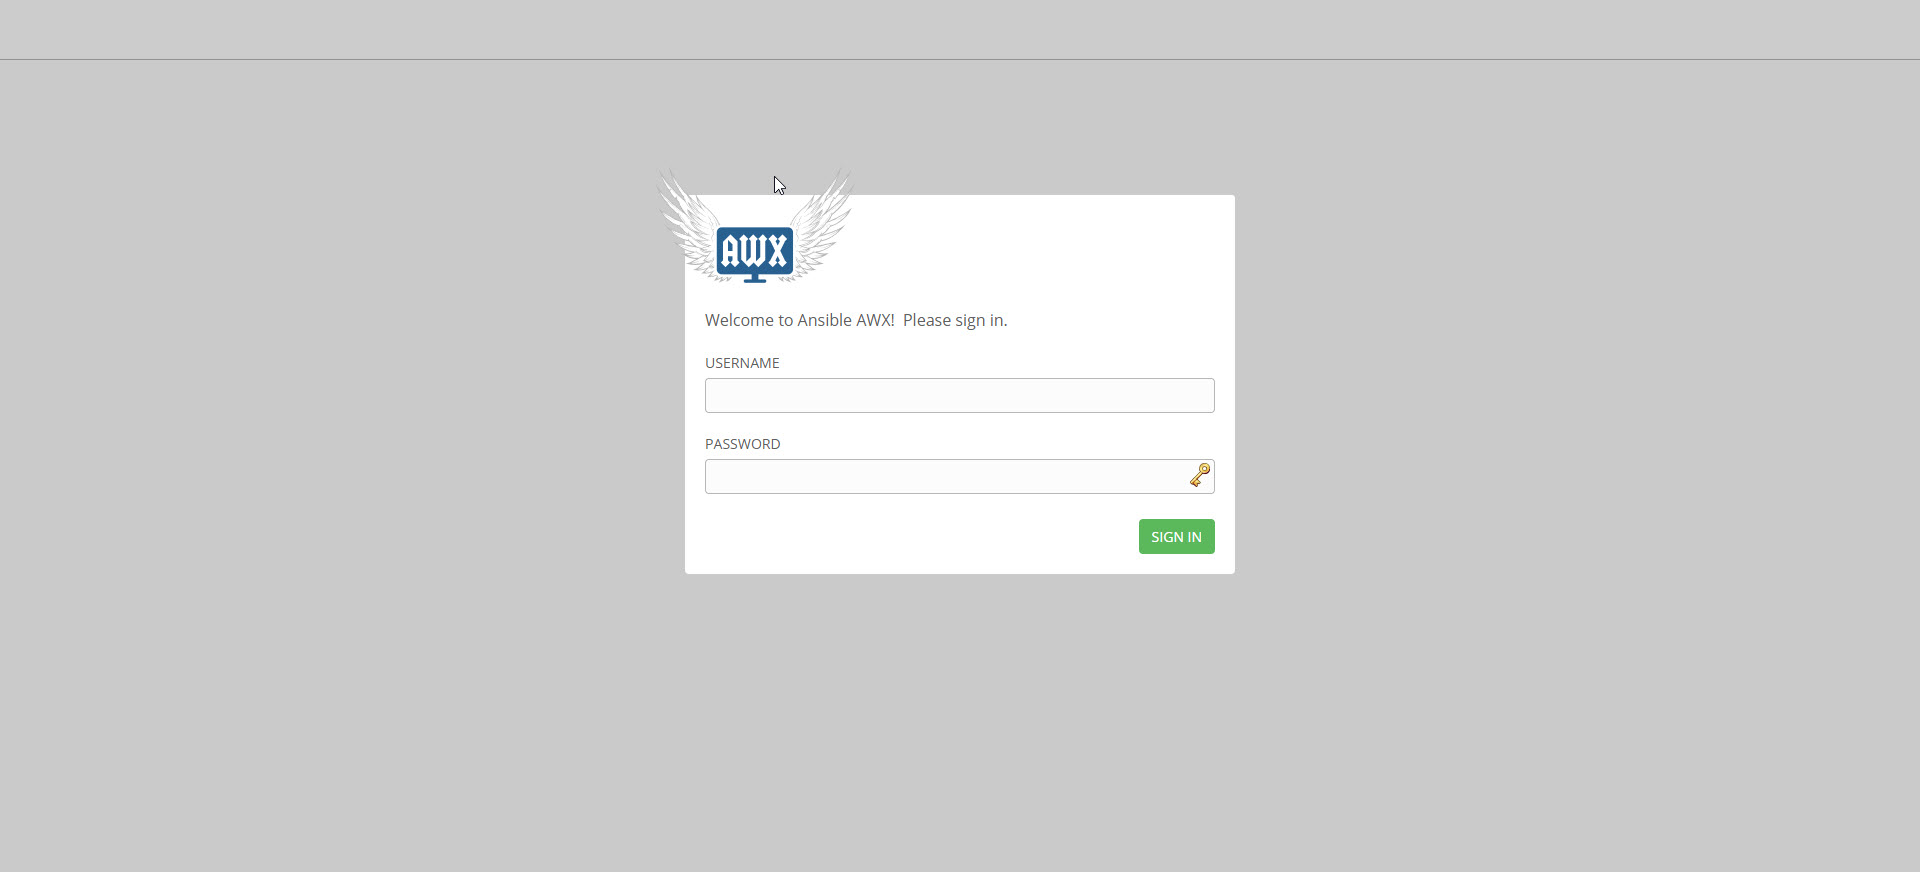
If you open a browser (if tested Chrome) and provide the public ip into the address bar (after a bit of time because the network security group needs that) you should see the following picture:
and after you login with your credentials the following picture:
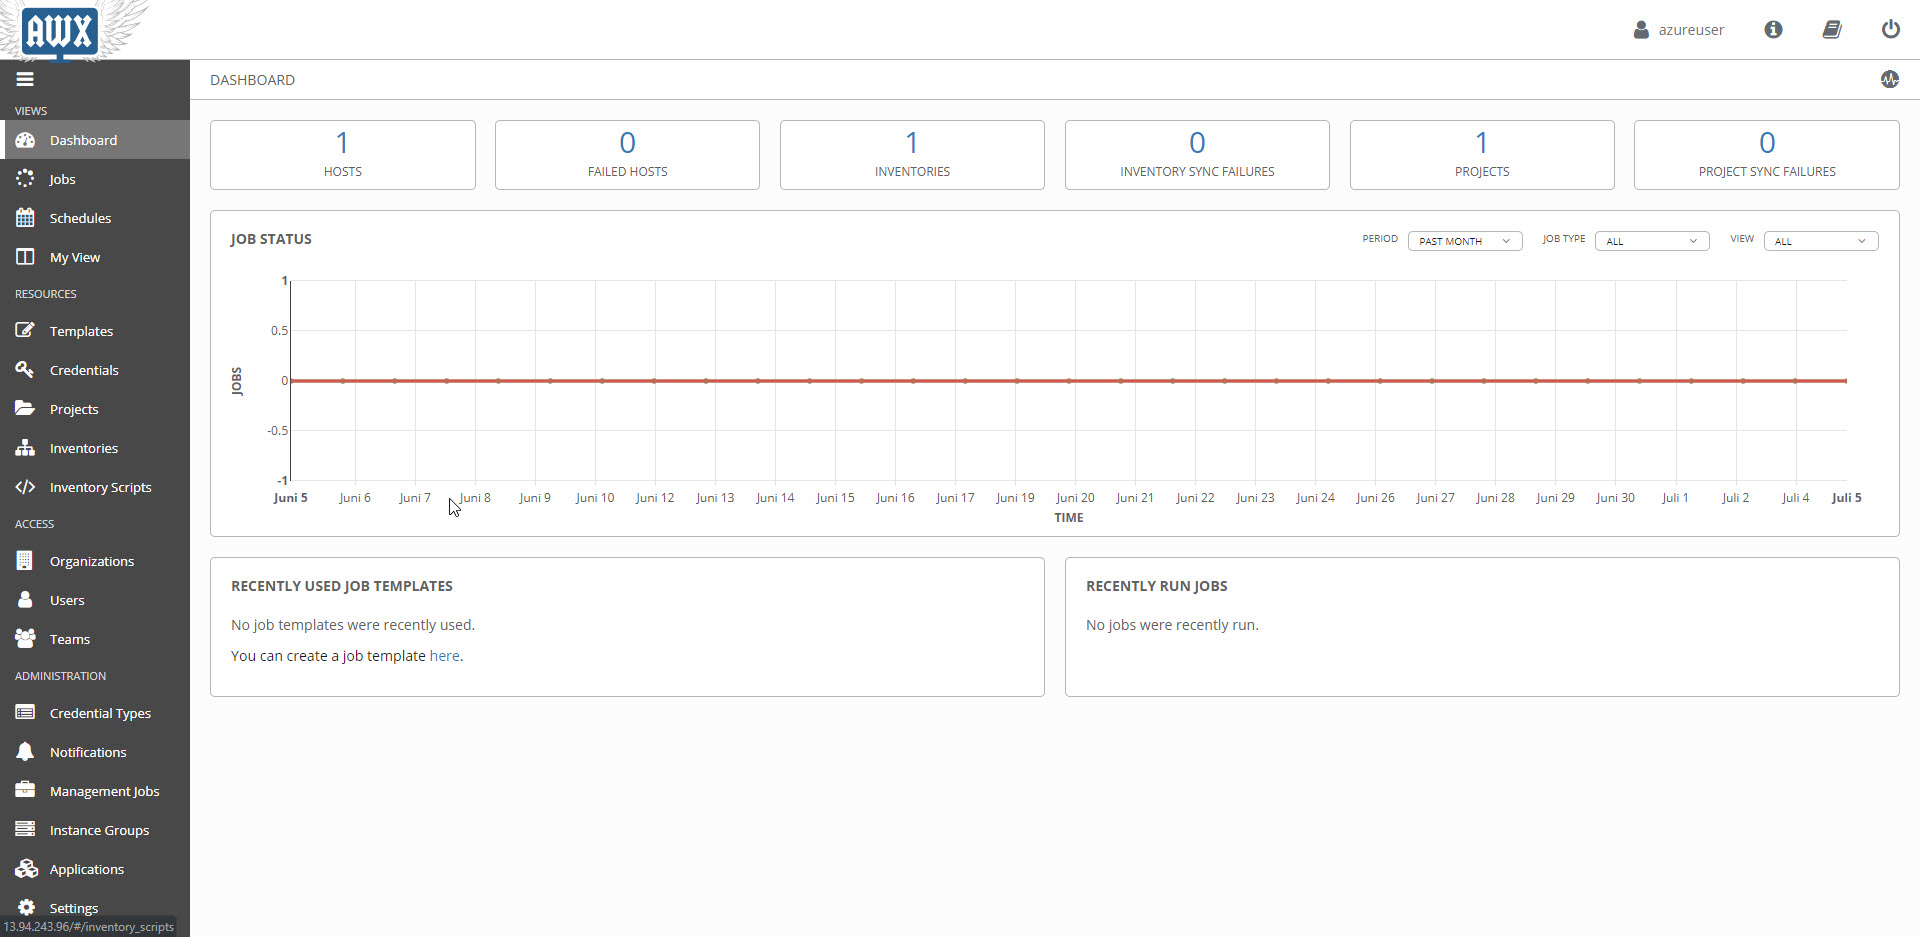
That’s It for part 1. Stay tuned for part 2 where we do the Azure inventory.