Manage Hyper-V Hosts in a workgroup environment
If you try to connect to a Hyper-V Host in a workgroup environment, you get the following error:
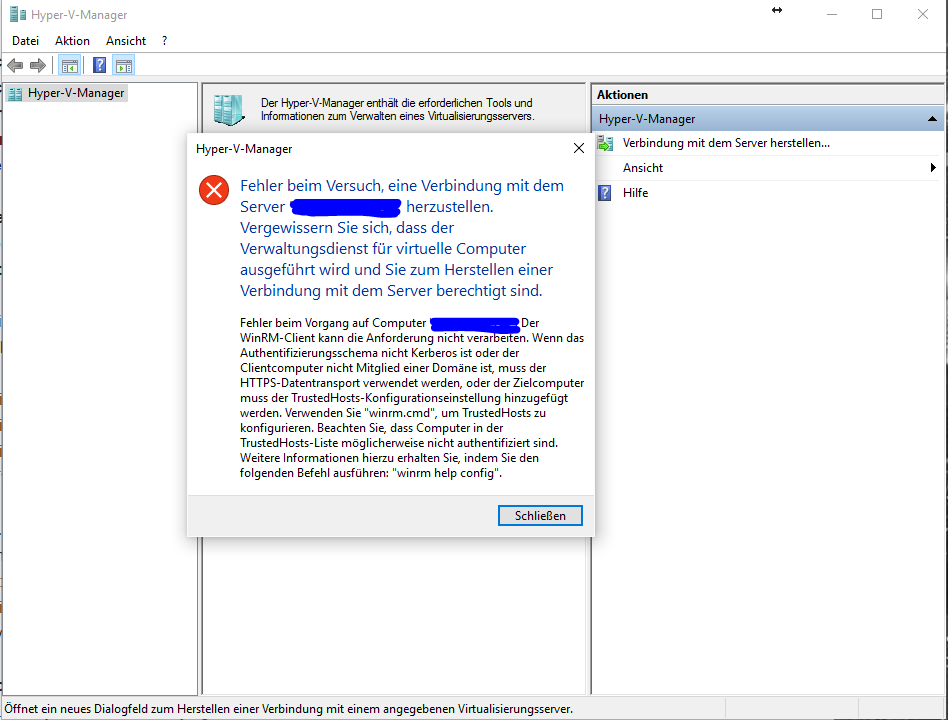
Target machine
to connect to the Hyper-V environment you need to have WinRM enabled. It’s only enabled by default on Windows Servers. To activate WinRM on the client you have to open a PowerShell with administrative rights and use the following CMD-Let:
1
Enable-PSRemoting
If It is sucessful you will get the following picture:

If you have more networkdevices installed and one of them is configured with the profile “Public” the command will fail by the step of configuring the firewall rules. To solve the issue we have to identify the InterfaceIndex of the networkcard that raises the error. You can achieve this by using the following CMD-Let:
1
Get-NetConnectionProfile
All networkcards are listed now. If you look at the “NetworkCategory” property of the listed Networkcards write down all the “InterfaceIndexes” where the “NetworkCategory” is Public. We need them in the following PowerShell command.
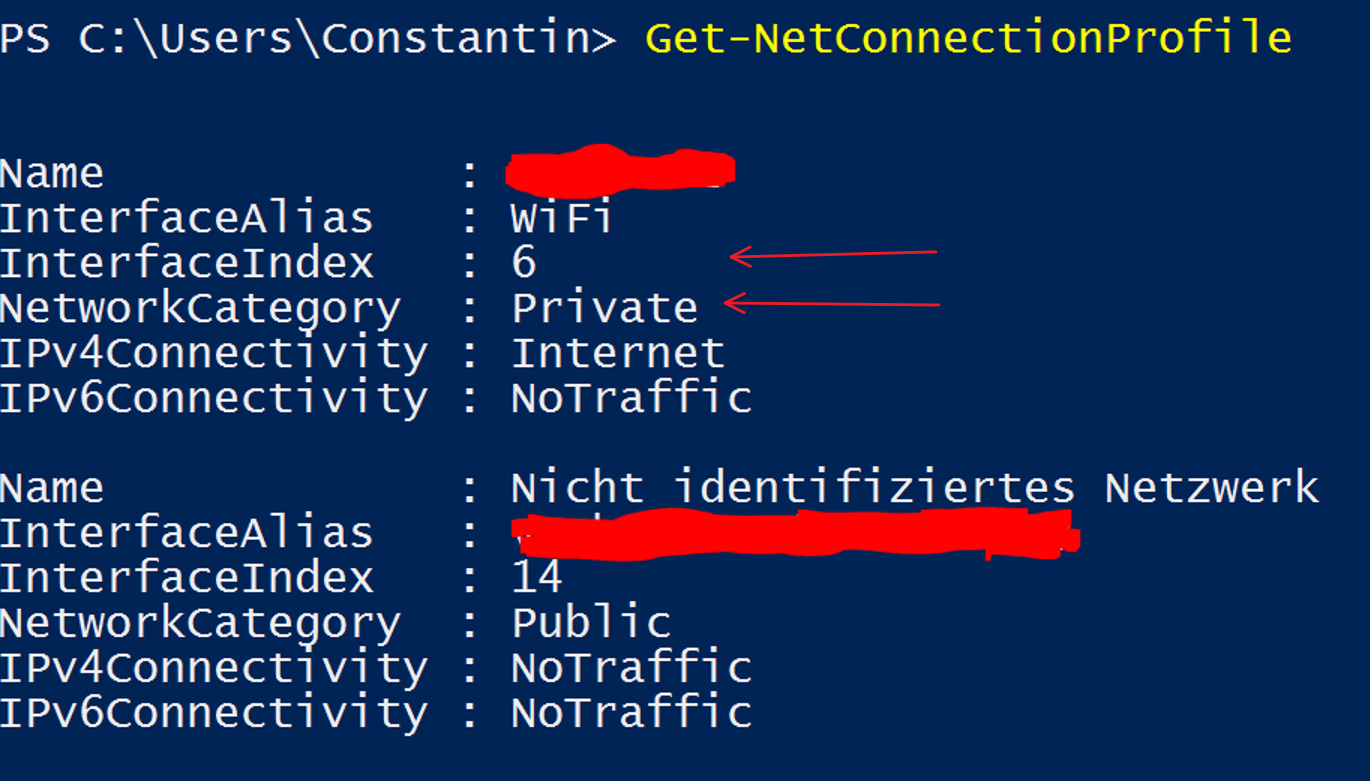
In this command we set the “InterfaceIndex” to 10:
1
Set-NetConnectionProfile -InterfaceIndex 10 -NetworkCategory Private
Now rerun
1
Enable-PSRemoting
It should run without any problem now. The next step is to enable a firewall rule in the Windows Firewall. The Following PowerShell-command helps here:
1
Enable-NetFirewallRule -DisplayGroup "Windows Remote Management"
If we are on german systems we have other DisplayGroups. Use this command instead.
1
Enable-NetFirewallRule -DisplayGroup "Windows-Remoteverwaltung"
The Source Machine
You also have to enable the firewallrule for PowerShell remoting.
Run the following command:
For english systems:
1
Enable-NetFirewallRule -DisplayGroup “Windows Remote Management”
For german systems:
1
Enable-NetFirewallRule -DisplayGroup “Remotevolumeverwaltung”
If you don’t have any DNS/DCHP service at home you have to edit the hosts file as well. Therefore you have to open notepad as an administrator and open the following file:
C:\Windows\system32\drivers\etc\hosts.
Fist type in the IP-Address of the target system. Type Tab key and then type the PC-Name of the target system. Save the file and close it. Finally you have to add the target computername to the trusted hosts in WinRM.
You can achieve this by using this PowerShell-command:
1
Set-Item WSMman:\localhost\Client\TrustedHosts -Value <Name of Hyper-V-HOST> -Concatenate -Force
Bevore you connect to the HyperV-Sever you have to add a user with the exact same credentials as your source computer. If you want to use another user account you can use the cmdkey command.
You can use this command:
1
cmdkey /add:<HYPER-V-SERVERNAME> /user:<LOCAL USER ON HYPER-V-SERVER> /pass
After this you only have to type in the password for the user. The very last step for this is open dcomcnfg.
Go to Componentservices -> Computer -> My Computer. Right Click -> Properties -> Com-Security -> Edit Limits.
Make sure that Anonymus Logon has Remote Access Permission enabled.
If you try now to reconnect to the target computer using Hyper-V manager the computer will now show up in the manager. You can now start adding VMs or Switches to the system.